Gold and silver are one of the most sought-after precious metals. They can be difficult to work with because they have low melting points and softens in extreme temperatures. But there’s no need to worry when you know how to TIG weld gold and silver successfully.
This article will show you everything you need to do.
Let’s begin by giving some tips needed to TIG weld gold and silver.
How to TIG Weld Gold
Here are some helpful tips on TIG welding gold:
1. The Torch Tip Must Touch Both Pieces
The basic idea behind any welding process is very similar, regardless of what metal or material is being joined together. The torch tip must touch both pieces at their centerline (known as “center heat”), which means your welds have less chance of cracking due to an uneven joint line.
2. Use the Right Filler Rod
When this occurs, cracks start from the edge where the two points meet. These are known as “stress risers.” They’re usually small but can grow into larger breaks if not properly dealt with. If left unchecked, they’ll eventually ruin the entire weld. A good way around this problem is by using a filler rod, which acts as a buffer between the base metal and the welder.
In addition to making sure the right amount of filler gets used, it helps distribute pressure evenly across the whole joint.
3. Ensure All Joints Are Clean and Free From Contaminants
To begin with, make sure all joints are clean and free from contaminants before starting. Next, clamp down on the edges of each piece with a vise, then grind away any sharp corners. You want your molten metal to flow smoothly over the surface without catching anywhere. Use a wire brush to remove dirt and particles, along with sandpaper to smooth out rough spots.
4. Put Some Flux Paste on the Area
Once you’ve completed these steps, put some flux paste on the area surrounding the joint and prepare yourself for success.
5. Get a Mask or Safety Glasses
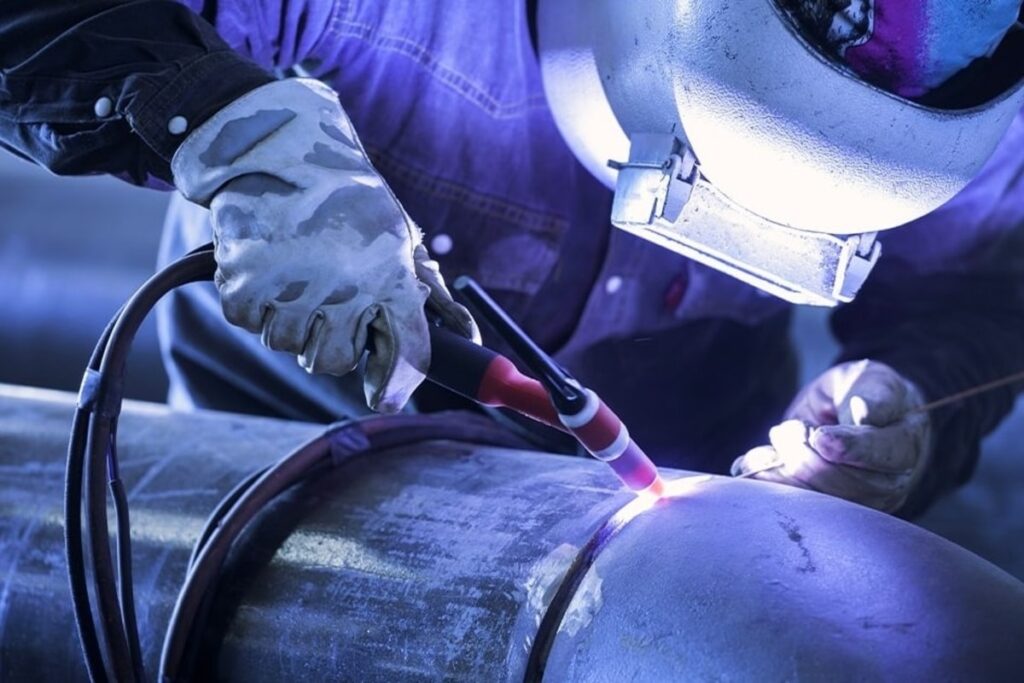
Now comes the fun part—actually putting on the mask. Choose either a full face shield or safety glasses depending on personal preference. After putting the mask on, take off the protective eye coverings and use goggles underneath. Now you’re ready to get started. Make sure you wear long pants, sleeves, and gloves during the procedure. And remember, always follow the manufacturer’s guidelines on arc length and voltage output.
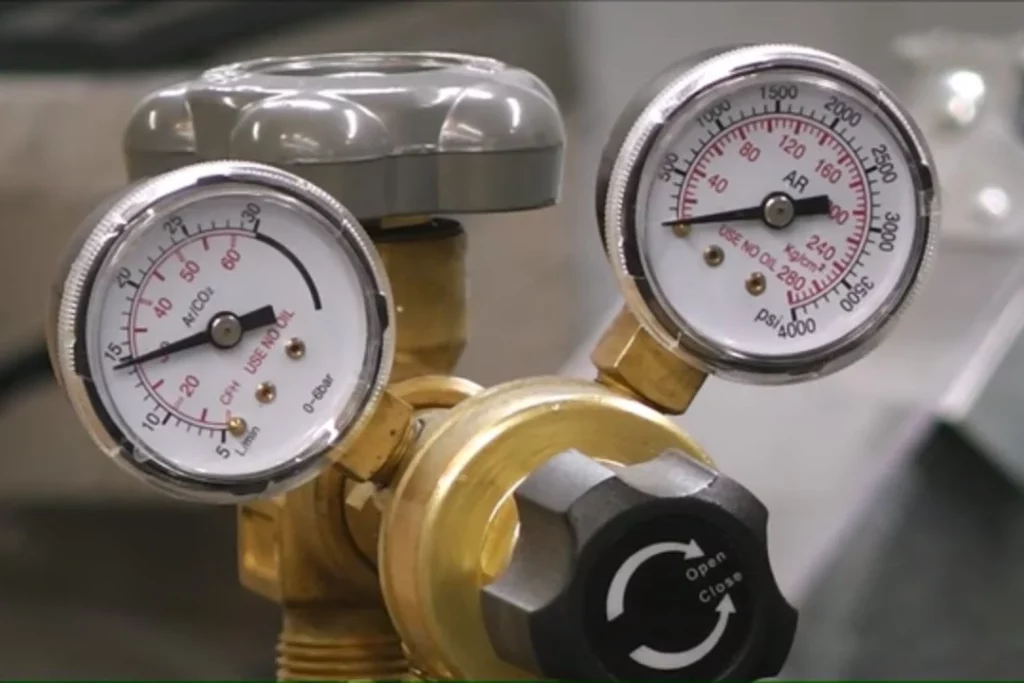
6. Check the Equipment at Regular Intervals
Also, keep in mind that your equipment should be regularly checked for proper function and adjustments should be made whenever necessary. With all this said, let’s go ahead and learn about how to tig weld gold.
How to TIG Weld Silver
Silver is another popular choice among jewelry makers who prefer its lighter weight than copper.
1. Clean the Silver
Unlike gold, however, silver does require special attention during handling and processing. For instance, while gold requires only minimal cleaning prior to working on it, silver needs more care since it melts easily under normal conditions. To avoid damaging the surface, first wash the object thoroughly in hot water, drying it completely afterward.
Then use a wire brush to scrub away any remaining traces of dust and grime. Next, apply electrical tape directly onto the exposed areas of the item. Finally, place it inside a vacuum cleaner bag to ensure no additional debris remains.
2. Prepare the Materials
After completing all this prepping, you can move on to preparing the materials. Start by cutting through the solder ball at least 1/2 inch deep. Then apply flux paste to the end of the soldering iron.
3. Hold the TIG Torch Vertically Above the Joint
Next, hold the TIG torch vertically above the joint and carefully lower it until it touches the top layer of silver. Hold the torch firmly against the bottom side of the silver for 5 seconds. Move up slightly and repeat.
Bear in mind, the melting point of silver is 1,763 degrees Fahrenheit (962 °C). So control the heat using the foot pedal to prevent harm to the delicate, thin metals.
Keep repeating this step until you reach the second layer of silver and continue following the same pattern until finished.
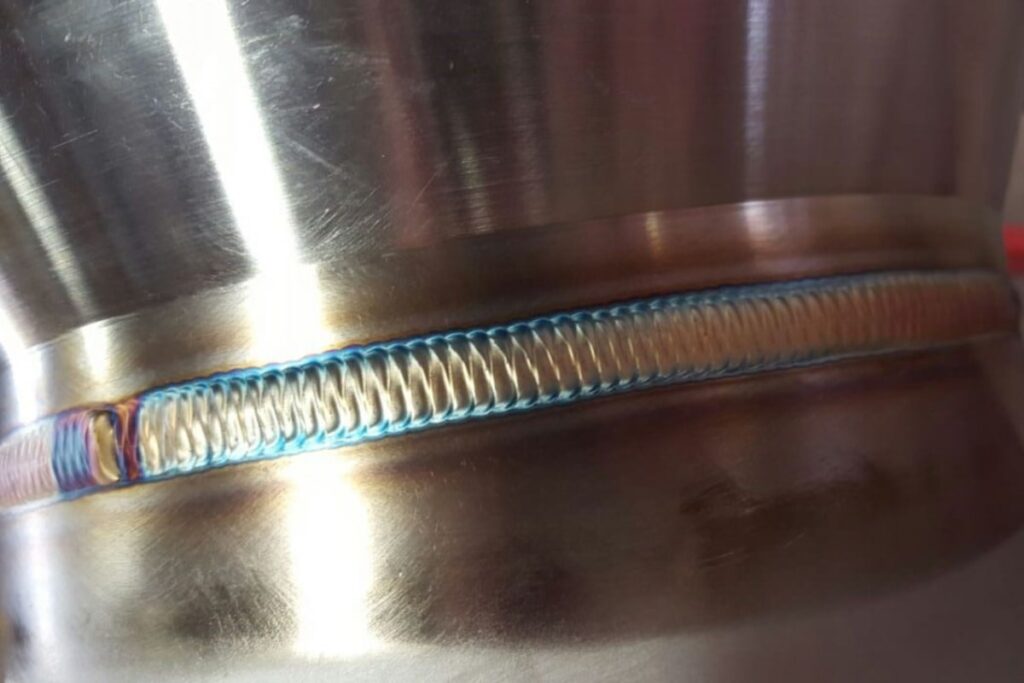
When you’re done, inspect the joint to see whether you met the required specifications. If not, adjust your technique accordingly and try again. Before removing the mask, test the joint to verify it is strong enough to withstand everyday usage.
4. Inspect the Joint
If you’d rather join silver sheets instead of individual wires, here’s how to TIG weld them together. First, cut slits into the sheet at 90-degree angles. Cut the strips roughly half an inch thick. On the underside of the strip, add flux paste and run the solder through the slits in alternating directions.
Place the strip upside down in contact with the other sheet, aligning the slits with the corresponding holes. Apply plenty of pressure, close the gap between the plates and wait 30 seconds. Remove the plate, flip it over, apply more pressure and allow time for cooling. Repeat this process until completed.
Finally, don’t forget to check your results after completion. Do a quick visual inspection to determine whether you achieved the desired result. If not, tweak your technique once more and try again until you’re satisfied.
5. Get Professional Assistance
If you ever come across a situation whereby you’re unable to finish the job within the allotted time frame, consider hiring someone else to help out. There are many ways to find skilled people online, especially if you live in a large metropolitan city. However, if you’re looking for something specific, you may want to turn to weld forums.
Besides offering tips and advice, members actively participate in discussions regarding techniques and tools needed for various projects.
Equipment for TIG Welding Gold
While the method described earlier works just fine for joining gold wires, it doesn’t provide much flexibility when dealing with larger objects. That’s why you’ll often encounter situations where you need specialized equipment designed specifically for this purpose. Fortunately, several manufacturers offer high-quality torches and accessories tailored for gold applications.
1. Get a TIG Welder With AC/DC Pulse TIG
We recommend using the Everlast PowerTIG 255 or Yeswelder TIG-250P for best performance. Both units feature state-of-the-art technology, including advanced power management systems, automatic current control, and variable speed settings. Other features include adjustable gas flows, auto lead switching capabilities, and built-in digital displays. Not surprisingly, they also cost quite a bit more.
However, even though the price tag might scare away certain buyers, users report having great experiences with cheaper alternatives. So feel free to shop around and investigate the options available in your area. As far as accessories go, you’ll probably need three things: an oxygen purging system, a ceramic nozzle, and a carrier rod holder. An oxygen purge unit allows you to expel unwanted gases trapped in the flame chamber, thus preventing oxidation and discoloration.
2. Use Ceramic Nozzles
Ceramic nozzles are better equipped to handle the higher voltages found in TIG processes compared to conventional carbon fiber ones. Lastly, a carrier rod holder provides stability when inserting rods into the burner head. Without this accessory, molten metal tends to shift around and create inaccurate weld lines.
3. Heat up Your Machine Gradually
As mentioned previously, the main reason gold seems hard to work with is because of its relatively low melting point (1,948°F). Because of this, it takes longer to maneuver, which is why your torch should be capable of sustaining consistent wattage levels. Additionally, the hotter the torch gets, the faster the metal solidifies. Try heating up your machine gradually to prevent burning and warping of items.
4. Makes Sure Using a DC Outlet
Another important detail to note is that, unlike copper and aluminum, gold cannot operate on 120V AC outlets. Therefore, you’ll have to convert your house’s electricity supply to DC mode using a converter box. This device converts household current to direct current, allowing your machine to draw maximum amounts of power. Although doing so increases operating costs, it ensures consistent, safe operation throughout every project.
In the next section, we’ll discuss how fabrication using gold and silver differs from traditional methods.
Common Mistakes When TIG Welding Silver
Although silver is easier to work with, mistakes still tend to occur occasionally.
1. Accidentally Adding Too Much Flux
One thing worth mentioning is the possibility of accidentally adding too much flux to the mix. Excessive application of flux prevents metal from bonding correctly, resulting in weak bonds. Another common mistake is leaving the melted metal sitting idle for too long. During prolonged periods of rest, the temperature drops, causing the liquid metal to become brittle.
To correct this issue, simply reheat the pieces in order to soften the metal back up. Lastly, it’s imperative to maintain constant vigilance when using high-temperature elements. Never leave anything near flames unattended, except maybe for short intervals.
Once you’ve learned how to TIG weld gold and silver successfully, you may decide you want to branch out further. Here’s how to join different types of metals together.
2. Using Argon-Oxygen Mixture as a Shielding Gas
It is advisable to use helium shielding gas in place of argon when TIG welding silver, gold, or other extremely thermally conductive metals.
Some Tips on TIG Welding Precious Metals
Precious metals are extremely valuable and highly sought after. Due to their unique composition, they play an essential role in modern society. From electronics to fashion design, the industry continues to rely heavily on precious metals to produce life-saving products.
Unfortunately, they aren’t easy to work with. Gold and silver, as previously stated, are prone to cracking when subjected to excessive forces. Since the process involves intense heat, it becomes harder to achieve uniformity between multiple layers. Consequently, imperfections arise at the seam.
This challenge can be overcome with precision. The secret lies in applying gentle downward force as opposed to pushing upward pressure. Otherwise, you run the risk of creating air bubbles beneath the final layer.
By taking extra precautionary measures, you can minimize the chances of failure occurring. Remember, never rush through this step and always treat precious metals with respect.
So now you understand how to TIG weld gold and silver. Hopefully, this guide was helpful and provided you with new insight into the world of jewelry crafting. Happy crafting!
The Bottom Line
By now, you should have a solid understanding of the basics of how to TIG weld gold and silver. If you are interested in learning more, we suggest reading the instructions on this page. We hope this tutorial is helpful and provides insight into what you can do with precious metals.
In case you would like to know more about the world of jewelry making, we highly recommend checking out our other guides.
Darell is a Certified Welding Engineer (CWEng) with over 23 years of expertise in TIG, MIG, MAG, dual flux, and stick welding. He is a senior welding engineer who has a desire to share his experience. Visit unwelded.com and join Darell as well as other welding enthusiasts in obtaining fabrication knowledge, amazing welding gadgets, and useful welding insights.